

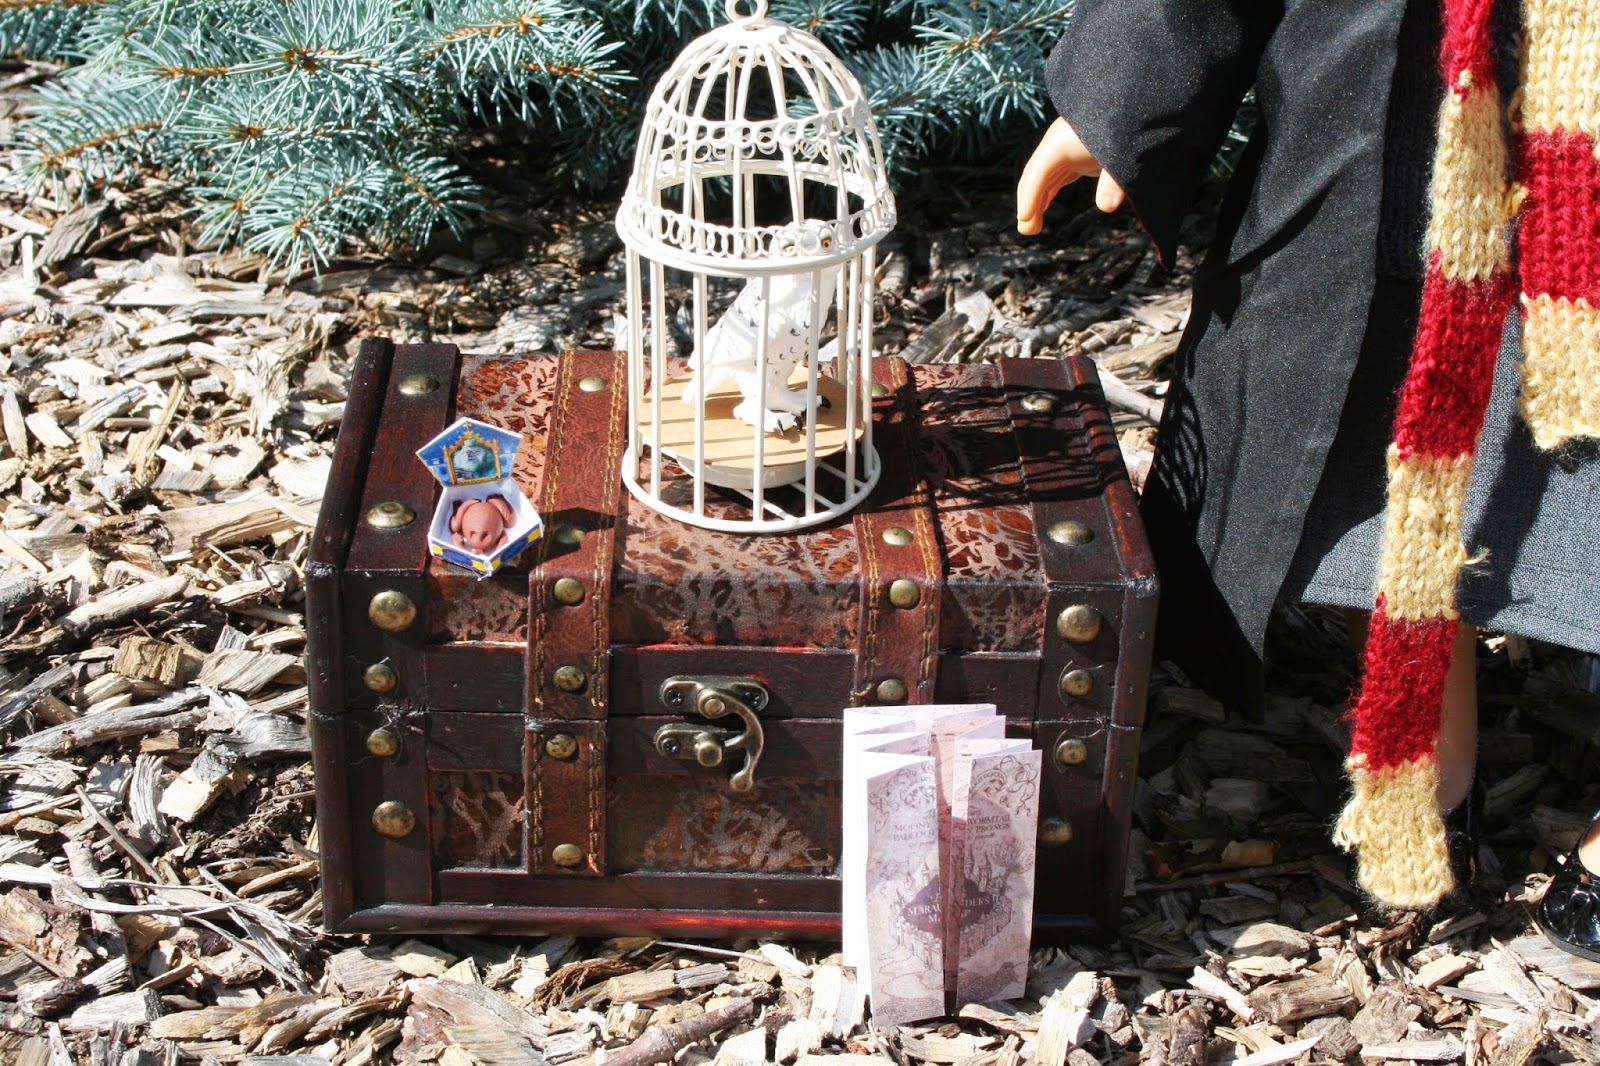
See my other free Harry Potter tutorials
What you need
- 1/2 yard of black lining (very thin fabric, used to line fabrics)
- 1/4 yard of house color lining (for the rest of the blog I will use red as the house color)
- red: Gryffindor
- blue: Ravenclaw
- green: Slytherin
- yellow: Hufflepuff
- black thread
- T-shirt transfer paper for black fabrics, has to be for black fabrics
- Image of a house crest, see below for instructions
How to make the robe
1. Download pattern here
Make sure you have set scaling to none!
Please use for personal use only, this is copyrighted by me, Read Creations !!!
2. Cut out all pieces, 14 in total.
- 2 back pieces in black (Part A)
- 2 outer front pieces in black (Part B)
- 2 sleeves in black, 2 sleeves in red (house color) (Part C)
- 2 inner front pieces in black (Part E), 2 inner front pieces in red (Part F) (these combined will form the inner fronts called Part EF)
- 1 outer hat in black (Part D) (make sure you get the right pattern piece)
- 1 inner hat in red (Part G) (make sure you get the right pattern piece, since outer and inner are different)
3. We are assembling the outer part of the robe first. Take 1 back piece Part A and both front
pieces Part B and sew along shoulder seams
4. Take both black sleeves Part C and attach to body, right sides together

5. Take black hood piece (Part D) and sew together along back (longest side)
6. Attach neck side of hood to body, right sides together.

7. Fold so sleeve and side line up and sew sleeve and side together, repeat for other side
Now you have the outer robe done.

8. Now we start with the inner robe.
Sew Parts E and F together to form the two front pieces Parts EF. Iron seams apart.

9. Sew fronts (Parts EF) with remaining back part (Part A) along shoulder seams, right
sides together.


11. Take the red hood (Part G) and sew the top together. Attach neck side of hood to body,
right sides together. Just like in step 6
12. Fold so sleeve and side line up and sew sleeve and side together, repeat for other side.
Just like in step 7
Now you have the inner robe done too.
13. Line up the outer and inner robe together, right sides together, hold in place with pins.
Sew around front, along front of hood and then along the other front in one seam.

14. Turn to the right and put inner sleeves in outer sleeves (just as if robe was already done)
15. You can either hand sew the inner and outer sleeve together with a hidden seam
(easier to picture) or do it with the machine, which is what I did.
In order to sew it with the machine I folded the inner and outer sleeve (at the seam) as if to
make a hidden seam and pinned it from the INSIDE. This way I new how to attach the sleeves
together. Then I pulled the sleeves through the bottom of the robe as if I would turn it inside out
again but I only pulled until I had good access to the sleeve. It will look really odd and twisted.
You can see my two pins in the picture


16. Line up the inner and outer sleeves and pin them, then sew around. Turn back to as if robe is
done. You should now have a finished sleeve front with a hidden seam. Repeat for other sleeve.
17. Turn inside out so seams are outwards (wrong side) and sew along bottom of robe leaving a
small opening
18. Turn back so it is the right way and hand sew the opening at the bottom shut
19. Iron robe's seams, especially the sleeve fronts, the front and bottom of the robe and the hood
Your robe is done !!!
How to add the crest
1. Download image of house crest, either google it or find it here2. Print picture on T-shirt transfer paper for black fabrics (make sure it is for black fabrics)
with the following settings

4. Place on dolls left front side, cover with parchment paper and iron on without steam

You are done !!!!
Return to Harry Potter Collection


