August 28, 2013

Messenger school bag for American Girl Doll


See my other School tutorials

What you need

  • Re-usable shopping bag (got mine at the Dollar store)
  • Self adhesive velcro

How to make the bag

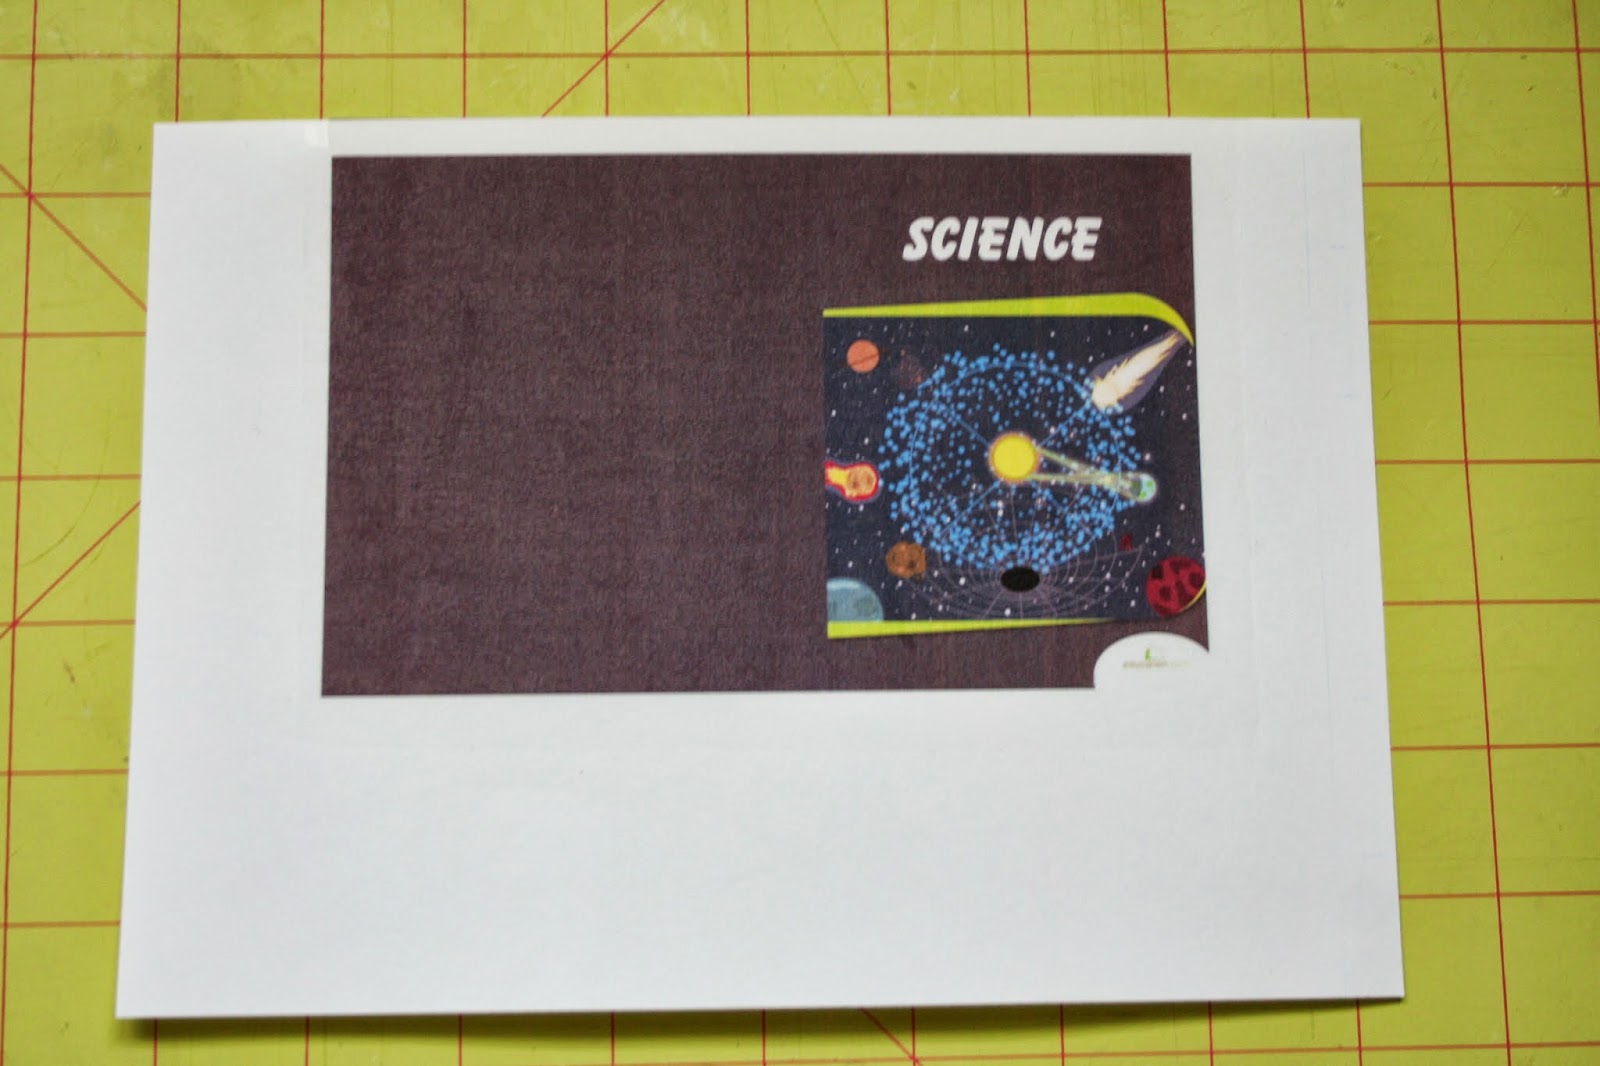
This bag will hold the binder, computer, book, folders and pencils.

1. Download free pattern here.

    This pattern is for private use only, this is copyrighted by me, Read Creations !!!!
    Make sure you have page scaling set to none !

2. Remove the trim from the bag carefully, you will reuse it later
    The picture below shows the bag with the pieces and trim removed.
3. Cut parts A and B from bag

4. Cut a 12" x 1 1/2" strip from bag. This will be part C

5. Cut a 18" piece from handle which will be part D.

6. Sew trim to top of part A

7. Sew trim to both short sides to part C

8. Sew part C to part A with a 1/8" seam, then trim this seam.

9. Sew part AC to part B with a 1/8" seam.
    Then trim all around part B, starting on the bottom.

10. Take part D and undo stitching, cutting it to 2" wide. Refold to be 3/4" wide
     (Keep the center fold, then fold in long sides by 1/4"), top stitch both sides.

11. Attach part D to bag's sides.

12. Attach velco to flap and bag


You are done !!!

Return to School tutorials


August 26, 2013

School Outfit for American Girl Doll

See my other School tutorials

What you need

  • Liberty Janes free Polo Shirt pattern (download for free from PixieFaire)
  • fabric for skirt (I also used the fabric for the neck portion of the Polo Shirt)
  • stretch fabric for Polo Shirt
  • velcor

How to make the dress

Unfortunately I finished the dress before I started blogging and don't have any pictures of the process but I took some pictures of the finished dress for illustrative purposes.

1. Follow the instructions for making the Polo Shirt, with two exceptions.
    Shorten the pattern by 1/4" (cut the hem line off) and
    Do NOT hem the bottom of the shirt!
    I used the same fabric for the Polo shirt's neck as I used for the skirt to tie it together.

2. After you have finished the Polo Shirt we start with the skirt.
   Cut a rectangle 4" x 41" and use zigzag all around to prevent fraying.

3. Make 1" pleats and iron.

4. Make a simple 1/4" hem (just fold up once 1/4") and re-iron hem into pleats.

5. Sew skirt to Polo Shirt and top stitch.


6. Polo Shirt should already have the velco on the back  (done in step 1). If not, add it now.

7. Sew skirt together all the way to the start of the Polo Shirt.

You are done !!!

Return to School tutorials

August 22, 2013

Pencils and Case for American Girl Doll


See my other School tutorials

What you need

  • bamboo skewers or 1/8" wooden dowel (preferred)
  • yellow, silver and pink acrylic paint or permanent markers (for pencil)
  • acrylic paint or permanent markers of various colors (for colored pencil)
  • acrylic sealer (optional)
  • piece of fabric for pencil case
  • zipper (7" or more)  for pencil case

How to make a pencil

1. Cut a 2 1/2" piece from dowel.

2. Use a sharpener to sharpen the dowel on one side.

3. Paint yellow, pink and silver as shown in the picture

4. Paint the tip of the pencil black for the lead.

5. Seal painted areas with acrylic sealer (optional)


How to make a colored pencil


1. Cut a 2 1/2" piece from dowel.

2. Use a sharpener to sharpen the dowel on one side.

3. Paint in whatever color you want
    Leave the sharpened end color free and also the back end

4. Paint a small dot on the back end in the same color as the pencil for the "lead"

5. Seal painted areas with acrylic sealer (optional)


How to make the pencil case

1. Cut a piece of fabric 3" x 3 1/2"

2. Fold the 3 1/2" sides 1/4" in and attach zipper (open zipper all the way, that helps)


3. Cut 2 circles with 1 1/4" diameter

4. Sew circles onto main body


You are done !!!

Return to School tutorials

Drink Bottle for American Girl Doll


See my other School tutorials

What you need

  • 3/4" wooden dowel (2" long)
  • Sculpey or FIMO (mine was black)
  • acrylic paint (mine was metallic purple)
  • acrylic sealer (gloss)
  • sandpaper
  • hot glue gun

How to make the drink bottle

1. Cut a 2" piece of the wooden dowel

2. Sand both ends, round the corners slightly

3. Paint with acrylic paint and seal with acrylic sealer after paint is dry.

4. Form lid with mouth piece from Sculpey or FIMO.
    Bake according to manufacturer's directions.

5. Glue lid onto bottle.


You are done !!!


Return to School tutorials

August 21, 2013

Binder for American Girl Doll

See my other School tutorials

What you need

  • cardboard (chip board or sturdy cereal box)
  • wrapping paper 
  • Elmer's glue
  • 3 jump rings 5/16" diameter (got mine in the Jewelery dept at Walmart in a multi-size pack)
  • silver wrapping paper and cereal box or a can of coke
  • hot glue gun
  • self adhesive clear vinyl cover (optional)

How to make the binder

I found this great tutorial where a miniature binder is made. I adjusted it to AG Doll size and made some modifications.

1.  Cut the following from the cardboard
         2x    3"x 3 3/4"
         1x    1/2" x 3 3/4"

2. Cut a rectangle 8" x 5" from wrapping paper and glue cardboard onto it.
    Leaving 1/8" gap between the spine and the sides.

3. Cut corners and glue sides up


4. Cut a rectangle 6 3/4" x 3 11/16" from wrapping paper and glue on inside

5. After glue has dried you can cover it with clear self adhesive vinyl to protect it.
    This is optional. 

6. Cut a strip 3/8" x 3 1/4" card board and cover with silver wrapping paper
    (or use a coke can instead of the silver covered cereal box.
     When cutting open the coke can be very careful, edges are extremely sharp)
    Cut corners off

7. Use hot Glue gun to glue jump rings onto piece from step 5, opening of jump rings facing up.
    My jump rings were 1 3/8" apart with the middle one centered.

8. Glue either in spine or on back part. I glued mine onto back part to make sure my pages
    weren't falling out when I closed the binder, but you could push the jump rings closed
    to prevent that from happening.


See my tutorial on school exercise sheets that fit in the binder.


You are done !!!

Return to School tutorials

School folder for American Girl Doll

See my other School tutorials

What you need

  • real school folder or construction paper
  • Elmer's glue

How to make the folder

1. Download pattern here
    Make sure you have set scaling to none.
    For home use only, this is copyrighted by me, Read Creations !!!!

2. Cut out along solid lines and fold along dotted lines

3. Fold bottom up, then glue the side flaps.


To fill your folder with work sheets, see my tutorial for Books and work sheets.

You are done !!!

Return to School tutorials

School books and work sheets for American Girl Doll

See my other School tutorials

What you need

  • Computer
  • Printer
  • Paper
  • Internet
  • Elmer's glue for books
  • Clear self-adhesive vinyl cover (optional for book)
  • Parchment paper or similar to keep book pages from sticking together

How to make the pages

To help my daughter practice math I went to www.education.com and selected her grade and subject and downloaded 9 different exercises (pdf format)

In order to be able to print these 9 pdf files on one page, I merged the 9 pdf files into 1 pdf file.
For that, I downloaded this awesome free program PDF fill and merged the 9 pdf files into 1 file as described below.

  1. Click on Merge PDF Files

  2.  Click on Add a PDF file and select the 9 pdf files that you downloaded
  3. Click Save As.. and save as new file

Next open the merged PDF file in Adobe Reader and print the merged file (make sure you select 9 pages per sheet). You can even print the page boarders, which will help you cut later (just below where you select the pages per sheet).
Now cut your sheet into 9 pages and you have your doll exercise sheets.

You can use these sheets in a folder (see my folder tutorial) or if you want, you can punch 3 small holes and use in a binder (see my binder tutorial) or make a book (see below).


How to make the books


1.  Stack the pages together and add a blank page in the front and back.
     I also added a table of content (make sure the empty pages are on the outside)
     Hold with binder clips together.

2. Then add liberal amount of glue on left side,
    Bend the pages a bit to get the glue slightly between the pages.
    Let dry.

3. Create your own cover (as high as the pages and 2x + thickness of book   wide)
    Optionally cover the cover with clear self adhesive vinyl.

4.  Create straight fold lines by folding over a metal ruler or similar.

5. Glue cover to the front and back blank pages.
    Put parchment paper or similar between blank pages and book to prevent glue
    sticking to the other pages.
    Weigh with heavy books. Let glue dry.


You are done !!!

Return to School tutorials

Back to School for American Girl Doll - overview


The laptop I found on Ebay, look for MacBook Air Laptop mirror
Lunch box is the box from sewing needles I found at Walmart